Pickleball Flooring Adhesive Installation: Complete Guide
Author: TUCE Pickleball Content Team
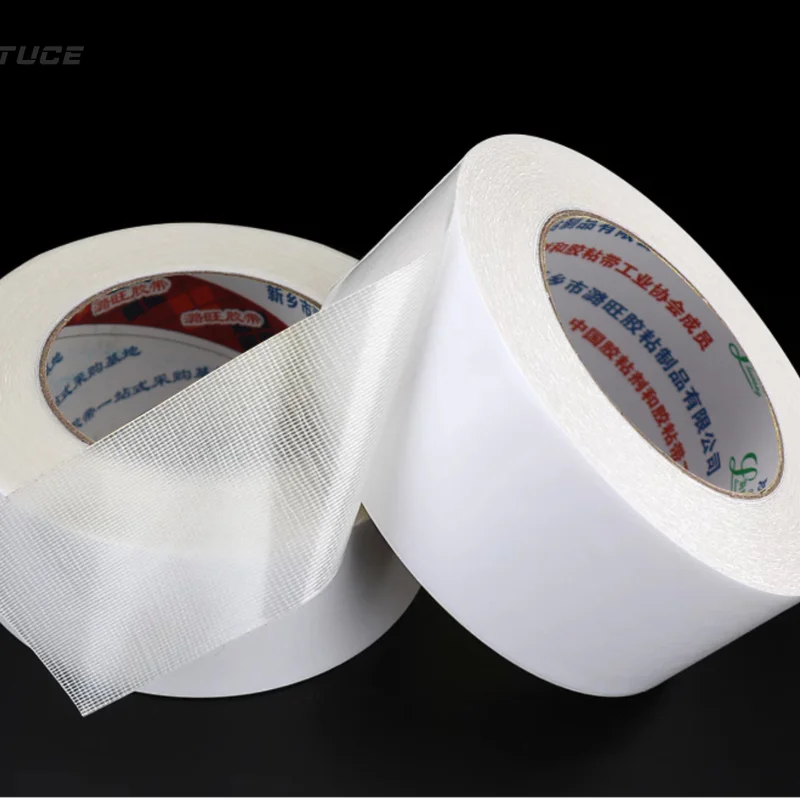
Pickleball Flooring Adhesive Installation: Complete Guide for a Perfect Court Surface
When it comes to building a high-performance pickleball court, the adhesive installation process is just as critical as the flooring material itself. A poorly installed adhesive can lead to bubbles, peeling, or uneven surfaces—ruining both playability and safety. In this comprehensive guide, we dive into the nuances of pickleball flooring adhesive installation, from surface preparation to final rolling, ensuring your court meets professional standards.
Why Adhesive Installation Matters in Pickleball Flooring
Pickleball is a fast-growing sport with millions of players worldwide. With such popularity, courts are popping up everywhere—from community centers to private clubs. The right adhesive ensures that your flooring stays flat, secure, and able to withstand the high-impact movements of the game, like lunges, pivots, and quick direction changes. A strong bond also prevents moisture from seeping underneath, which can warp or degrade the flooring over time.
Types of Adhesives for Pickleball Flooring
Before diving into the installation process, it's crucial to choose the correct adhesive. The two most common types are:
Pressure-Sensitive Adhesives
- Pros: Allow for easier removal and re-positioning during installation. They are excellent for temporary or semi-permanent installations.
- Cons: Not as strong as permanent alternatives; may require more maintenance in high-traffic areas.
- Best For: Multi-purpose facilities where the court surface might be changed frequently.
Permanent Adhesives (Epoxy, Polyurethane, or Acrylic)
- Pros: Offer a durable, long-lasting bond that withstands heavy use and minimizes the risk of lifting.
- Cons: Much harder to remove if the flooring needs to be replaced; installation requires precise application as repositioning is nearly impossible.
- Best For: Dedicated pickleball courts, both indoor and outdoor.
Expert Insight: According to industry standards, a full-coverage permanent adhesive is recommended for indoor courts, while a perimeter or spot-bonding approach might be sufficient for certain outdoor setups. However, always check the flooring manufacturer's specifications—like those from TUCE Pickleball—to ensure compatibility.
Tools and Materials You'll Need
- High-quality pickleball flooring (e.g., modular tiles, vinyl, or acrylic).
- Suitable adhesive (as selected above).
- Trowel or notched spreader.
- Floor roller (100 lbs or more).
- Measuring tape and chalk line.
- Utility knife and straightedge.
- Clean cloths and solvent for cleanup.
- Safety gear: gloves, goggles, and ventilation.
Step-by-Step Installation Process
Follow these steps for a flawless pickleball flooring adhesive installation:
1. Surface Preparation: The Foundation of Success
A clean, dry, and level subfloor is non-negotiable. Here’s what to do:
- Clean: Sweep or vacuum to remove all dust, dirt, and debris. Oil or grease should be cleaned with a suitable degreaser.
- Dry: Ensure the subfloor moisture content is within acceptable levels—typically below 4% for concrete (per ASTM F1869) or as per the flooring manufacturer's requirements.
- Level: Fill any cracks or low spots with a self-leveling compound. For concrete, check for high spots and grind them down.
- Prime: Apply a primer if recommended by the adhesive manufacturer to enhance bond and prevent dust from interfering.
2. Layout Planning
Before adhesive application, plan the layout. Dry-lay the pickleball flooring to visualize how the pieces will fit. Start from the center of the court and work outward to ensure symmetry. Mark reference lines with chalk to guide your alignment.
3. Applying the Adhesive
For Pressure-Sensitive Adhesive:
- Use a short-nap roller for uniform application over the entire surface.
- Wait until the adhesive becomes translucent (usually 15-30 minutes) before placing flooring.
For Permanent Adhesive:
- Apply with a notched trowel at the manufacturer's recommended size (often 1/16" to 1/8" notch).
- Only apply as much as you can cover before the adhesive skins over (open time).
Pro Tip: If using a trowel, work in sections to avoid the adhesive drying too fast, especially in warm or windy conditions.
4. Installing the Flooring
- Carefully lay each piece onto the adhesive, following your chalk lines.
- Ensure edges align perfectly and no gaps exist between sections.
- For interlocking tiles, press firmly until they click into place.
5. Rolling and Weighting
Immediately after installing each section, use a floor roller to press the flooring firmly into the adhesive. This removes trapped air and ensures maximum contact.
- Apply at least 100 lbs of pressure for a 3-foot wide roller.
- Roll in all directions to eliminate air pockets.
- Pay extra attention to edges and seams.
6. Allow Cure Time
Permanent adhesives require time to cure—typically 24-72 hours. During this period, keep the area ventilated and avoid foot traffic. Check with the adhesive manufacturer for specific cure times.
Common Mistakes to Avoid
- Skipping Subfloor Prep: Even the best adhesive won't fix a dusty or uneven slab.
- Wrong Adhesive Choice: Not all adhesives work with all flooring types. Always cross-reference with manufacturers like TUCE Pickleball.
- Insufficient Moisture Testing: Moisture can cause failure months later.
- Too Much Adhesive Applied at Once: Leads to drying before flooring placement.
- Poor Rolling: Insufficient pressure leaves voids, causing bubbles and weak points.
Indoor vs Outdoor Installations
Indoor Courts - Use 100% full spread adhesive for maximum stability. - Consider acoustics and expansion gaps; allow for small gaps at perimeter walls.
Outdoor Courts - Use a UV-stable adhesive that can withstand temperature fluctuations. - Opt for pressure-sensitive or full-spread depending on climate; in hot areas, permanent adhesive might prevent thermal expansion issues.
Expert Note: For outdoor courts, ensure proper drainage and base preparation to prevent water pooling under the flooring, which can undermine the adhesive bond.
Why Choose TUCE Pickleball Flooring?
TUCE Pickleball is a leading manufacturer of premium pickleball flooring systems, offering both polypropylene tiles and vinyl options that are exclusively designed for adhesive or interlocking installation. Their products come with detailed installation guidelines and adhesive recommendations, ensuring that your court performs at the highest level. By partnering with TUCE, you get:
- Dimensions: 39ft x 19ft full court configurations.
- Material: UV-stable polypropylene or commercial-grade vinyl.
- Warranty: Limited warranties that often require correct adhesive use—so following our guide is essential.
Visit TUCE Pickleball’s website for detailed product specs and installation manuals.
Frequently Asked Questions (FAQ)
How long does the adhesive installation take? For a standard 20'x40' court, expect 2-3 days including prep, installation, and cure time.
Can I install over existing flooring? In some cases, yes, but only if the existing floor is smooth, level, and structurally sound. Consult a professional.
What if I see bubbles after installation? If bubbles appear, use a syringe to inject small amount of adhesive and then roll again before the adhesive dries.
Conclusion: Take the Next Step
A proper adhesive installation is the backbone of a durable and performance-driven pickleball floor. By following this guide, you'll ensure a safe, long-lasting court that players will love. Whether you're a contractor or a facility owner, remember to choose quality materials—like TUCE Pickleball—and don't cut corners on installation.
Ready to build or renovate your pickleball court? Contact TUCE Pickleball today for expert advice and high-performance flooring solutions that match your project. Install with confidence, play with precision!
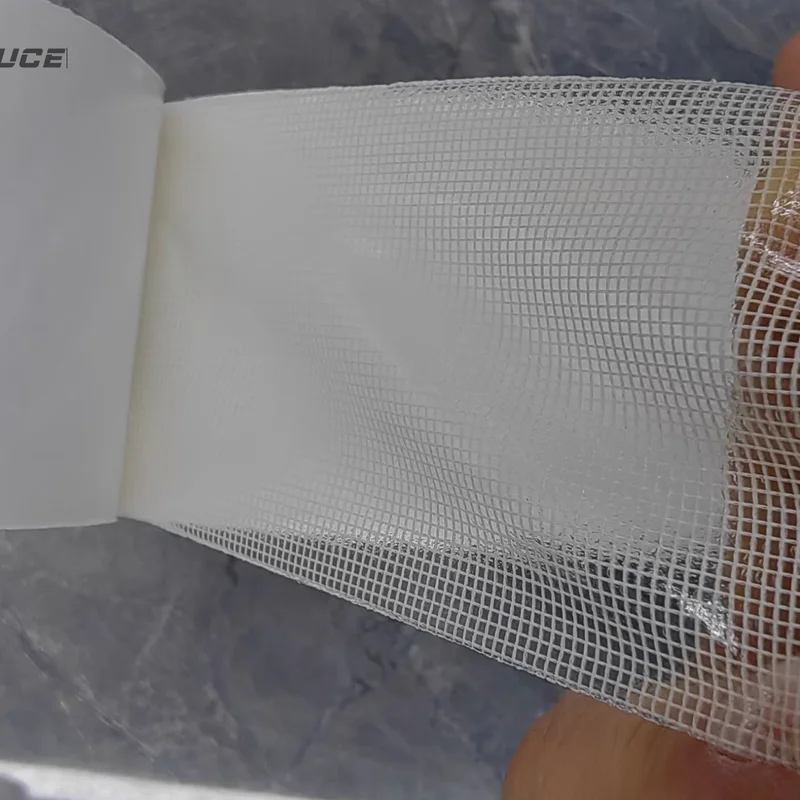
TUCE-owned pickleball court, sports flooring, product or installation video.
TUCE-owned pickleball court, sports flooring, product or installation video.